The building sector is negotiating a terrain with several obstacles that could impede project advancement and drive up expenses. Contractors and developers run across problems, including changing material pricing, strict regulatory rules, and the need for sustainable practices as they try to satisfy the needs of contemporary buildings. The intricacy of modern designs combined with the demand for creative ideas complicate the scene even more and call for improved technology and a trained crew. Ensuring timely project delivery while following financial restrictions depends on properly addressing these difficulties, which will eventually help in choosing the direction of the building.
Understanding The Construction Challenges
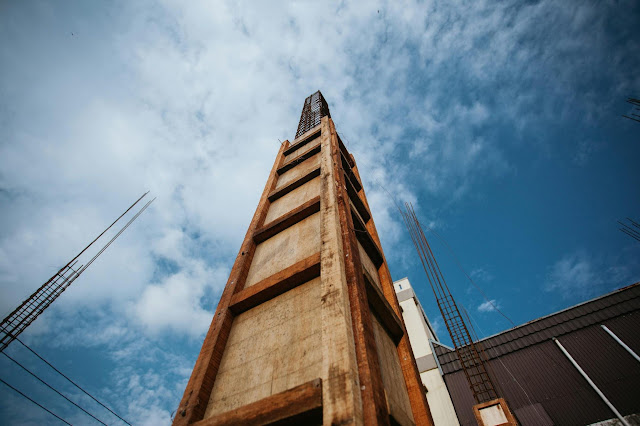
Construction projects often encounter a wide range of challenges that could slow development and drive inflation in expenses. For both builders and contractors, elements like changing material costs, regulatory compliance, and the necessity of sustainable practices provide great difficulties. Furthermore, the desire for creative solutions and the growing complexity of designs call for advanced technology and a trained workforce—which might be challenging to find. Leading companies like modularcubed.co.uk are tackling these issues by combining environmentally friendly, precast building techniques improving efficiency and lowering environmental impact. Maintaining financial restrictions and guaranteeing timely project delivery depends on efficiently addressing these challenges.
Innovative Materials And Technologies
The building sector is seeking modern materials and technology more and more to improve efficiency and durability. For buildings needing robustness and lightweight design, advanced composites—such as fibre-reinforced polymers—offer extraordinary strength-to-weight ratios. Smart technologies—including sensors and automation—also provide real-time monitoring of structural integrity and environmental conditions, enabling preventive maintenance and lowering lifetime costs. By reducing waste and energy consumption both during construction and over the structure's lifetime, these developments raise building performance and support sustainability.
Sustainable And Cost-effective Solutions
In the current building, where sustainability and economy coexist, stressing environmentally friendly methods has become imperative. Using recycled materials helps to cut waste and material costs; energy-efficient designs can greatly minimize running costs over time. Faster assembly and lower labour costs made possible by modular building help to further increase economic viability. Giving sustainable techniques top priority will help builders design buildings that satisfy present demands and reduce environmental effects, thereby guaranteeing long-term advantages for the community and clients.
Case Studies And Success Stories
Many initiatives show how creatively new ideas may be used to solve building problems. One prominent example is converting a former industrial site into a mixed-use community where green technologies and sustainable materials are integrated to produce active, energy-efficient surroundings. Another scenario concerned the application of modular building methods for a school, which not only sped up the construction process but also greatly cut expenses while preserving high standards of quality. These success stories show the possibility for innovative ideas to turn challenges into opportunities and how well good planning and execution may produce amazing results in the building industry.
Conclusion
Although the building sector negotiates difficult terrain, it is also a field ready for creative ideas and environmental sustainability. Accepting cutting-edge materials, smart technologies, and environmentally friendly methods will help builders and contractors overcome challenges and improve the calibre and effectiveness of their projects. The success stories of renovated sites and affordable solutions show that the building industry can produce strong buildings that help the environment and clients through strategic planning and sustainability commitment. A more sustainable future and long-term prosperity depend on the sector integrating these creative ideas as it develops.